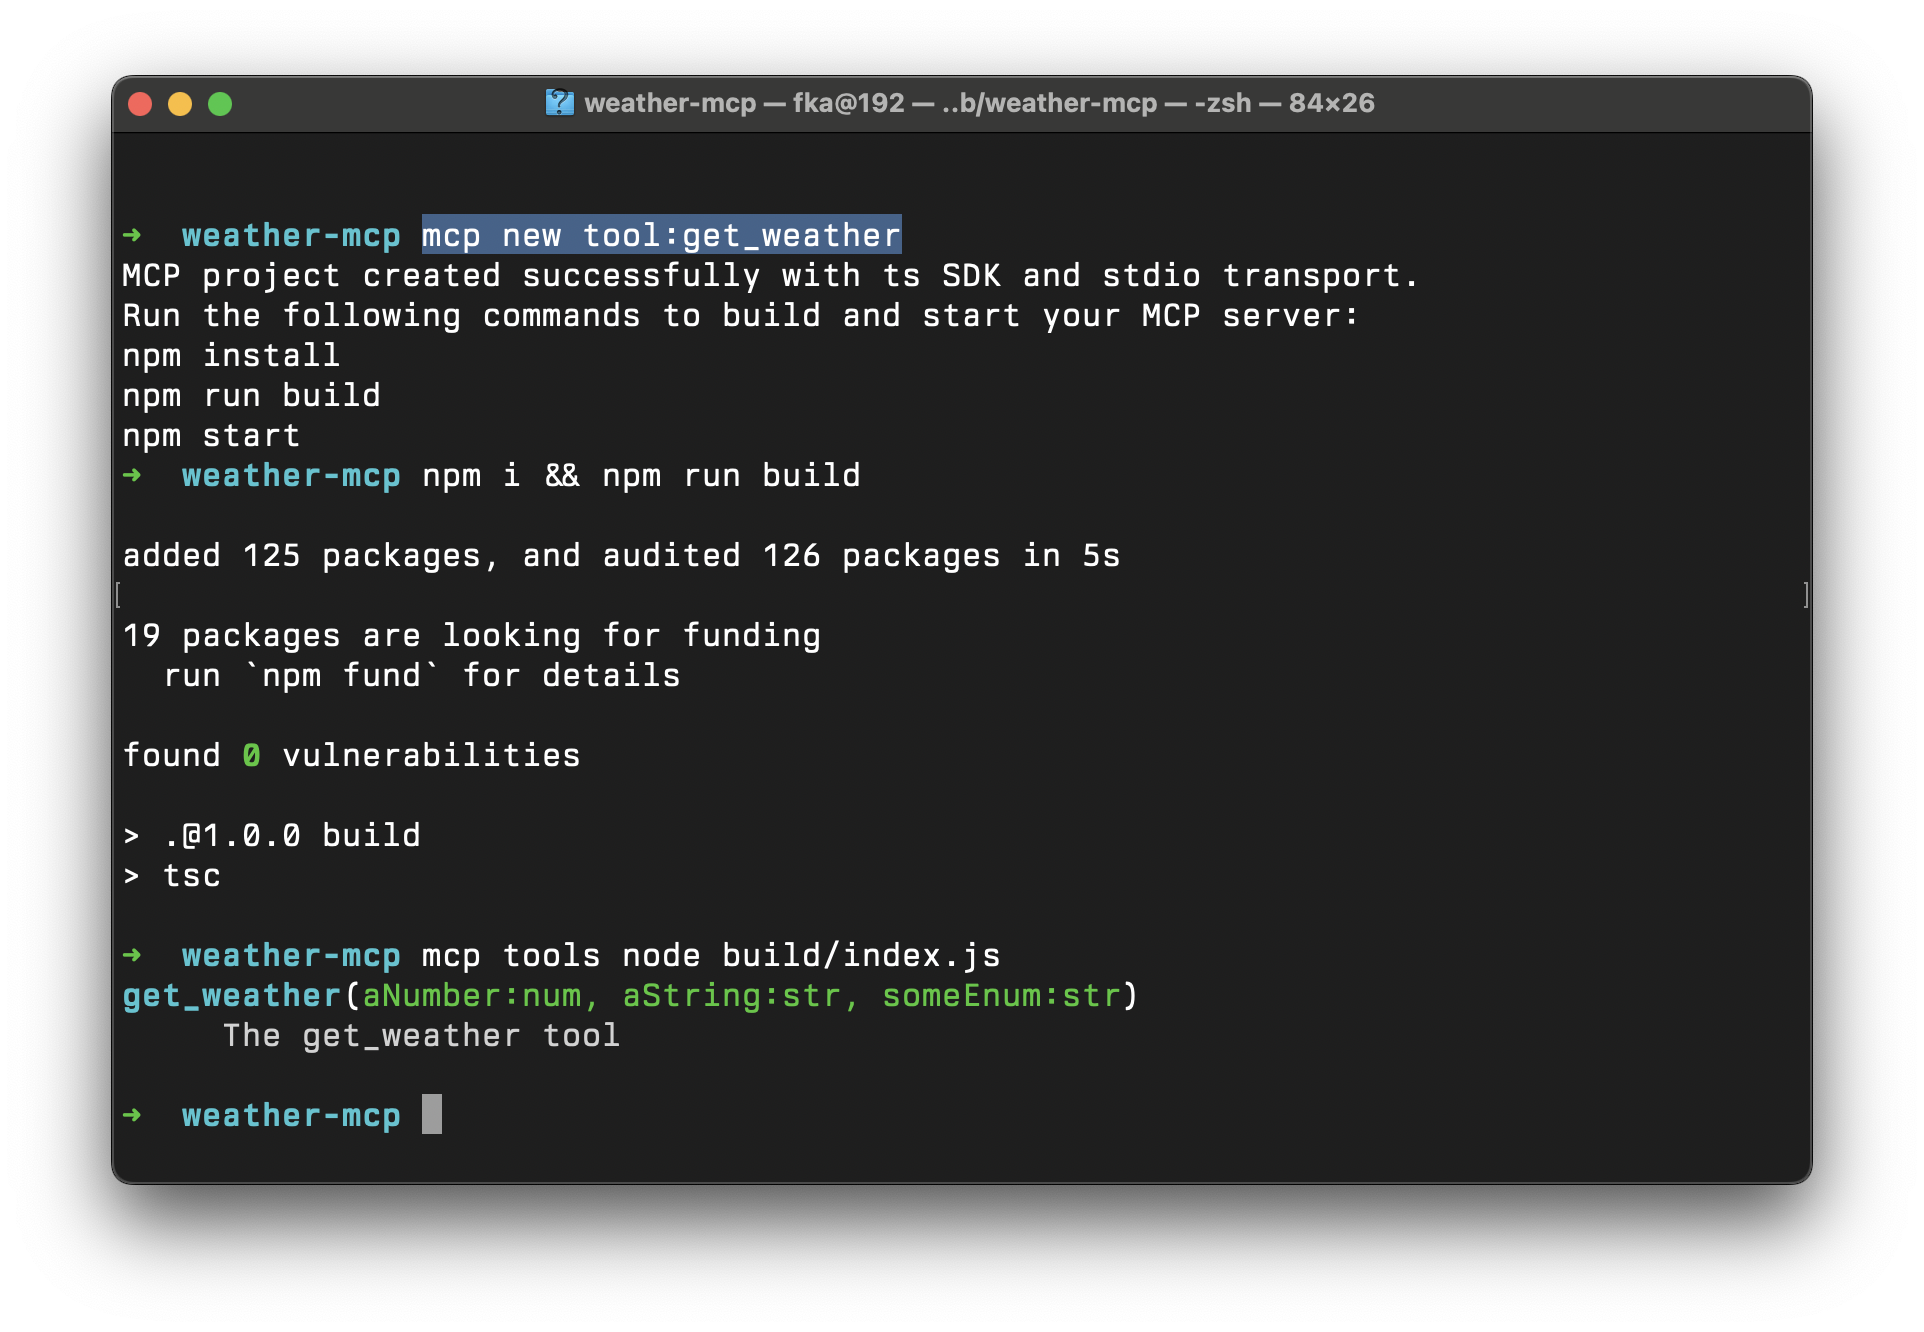
In previous articles, we’ve explored various aspects of the Model Context Protocol (MCP) and how it enables LLMs like Claude to interact with external tools, resources, and prompts. Today, I want to focus on a productivity-enhancing feature of MCP Tools: project scaffolding.
Building a new MCP server from scratch involves several repetitive setup steps - configuring TypeScript, setting up the appropriate transport layers, implementing interfaces, and wiring everything together. MCP Tools simplifies this process with its powerful scaffolding capabilities, allowing you to create fully functional MCP server projects with just a few commands.
What is Project Scaffolding?
Project scaffolding in MCP Tools allows you to generate the complete structure and boilerplate code for a new MCP server project. This includes:
- Setting up the server with your chosen transport method (stdio or SSE)
- Configuring TypeScript with modern ES modules
- Creating skeleton implementations of tools, resources, and prompts
- Adding proper MCP interfaces and type definitions
- Automatically handling imports and initialization
This approach saves you time and ensures best practices are followed in your project structure.
Basic Scaffolding Commands
To get started with project scaffolding, you’ll need to have MCP Tools installed. If you haven’t done so yet, install it with:
# Using Homebrew
brew tap f/mcptools
brew install mcp

# Or from source
go install github.com/f/mcptools/cmd/mcptools@latest
Once MCP Tools is installed, you can create a new project with these simple steps:
# Create and navigate to your project directory
mkdir my-mcp-server
cd my-mcp-server

# Scaffold a project with a calculate tool
mcp new tool:calculate
This command will create a complete project structure with a “calculate” tool implementation.
Customizing Your Scaffolded Project
MCP Tools offers several options to customize your scaffolded project:
Specifying Multiple Components
You can include multiple components in your scaffold by listing them in the command:
# Create a project with a tool, resource, and prompt
mcp new tool:calculate resource:file prompt:greet
This will generate all three component types in your project:
- A “calculate” tool that can perform calculations
- A “file” resource that can serve file content
- A “greet” prompt that provides greeting templates
Choosing a Transport Method
MCP supports different transport methods for communication. You can specify your preferred method:
# Create a project using stdio transport (default)
mcp new tool:calculate --transport=stdio

# Create a project using SSE (Server-Sent Events) transport for HTTP
mcp new tool:calculate --transport=sse
The stdio transport is ideal for command-line tools and desktop integrations, while SSE is better for web-based applications.
Selecting an SDK
Currently, MCP Tools primarily supports TypeScript for scaffolding, but you can explicitly specify it:
mcp new tool:calculate --sdk=ts
Building and Running Your Project
After scaffolding, you can build and run your MCP server with these commands:
# Install dependencies
npm install

# Build the TypeScript code
npm run build

# Test the server with MCP Tools
mcp tools node build/index.js

Template Storage Locations
MCP Tools looks for project templates in several locations:
- Local
./templates/directory in your current working directory - User’s home directory:
~/.mcpt/templates/ - Next to the MCP Tools executable
This gives you flexibility to store custom templates in your project or share them across all your projects.
Customizing Templates
Advanced users can create their own templates by:
- Creating a directory structure matching the desired output
- Placing the templates in one of the template storage locations
Conclusion
Project scaffolding with MCP Tools dramatically simplifies the process of creating new MCP server projects. Instead of spending time on repetitive setup tasks, you can focus on implementing your specific business logic and functionality.
With just a few commands, you get a complete, well-structured project that follows best practices and is ready for development. This feature is particularly valuable for teams working on multiple MCP projects, ensuring consistency and reducing setup time.
Try MCP Tools project scaffolding for your next MCP server project and experience how it streamlines your development workflow!
This article was proofread and edited with AI assistance.


